The Ultimate Guide to Building Your Toy Photography Portfolio


Getting Started with Toy Photography
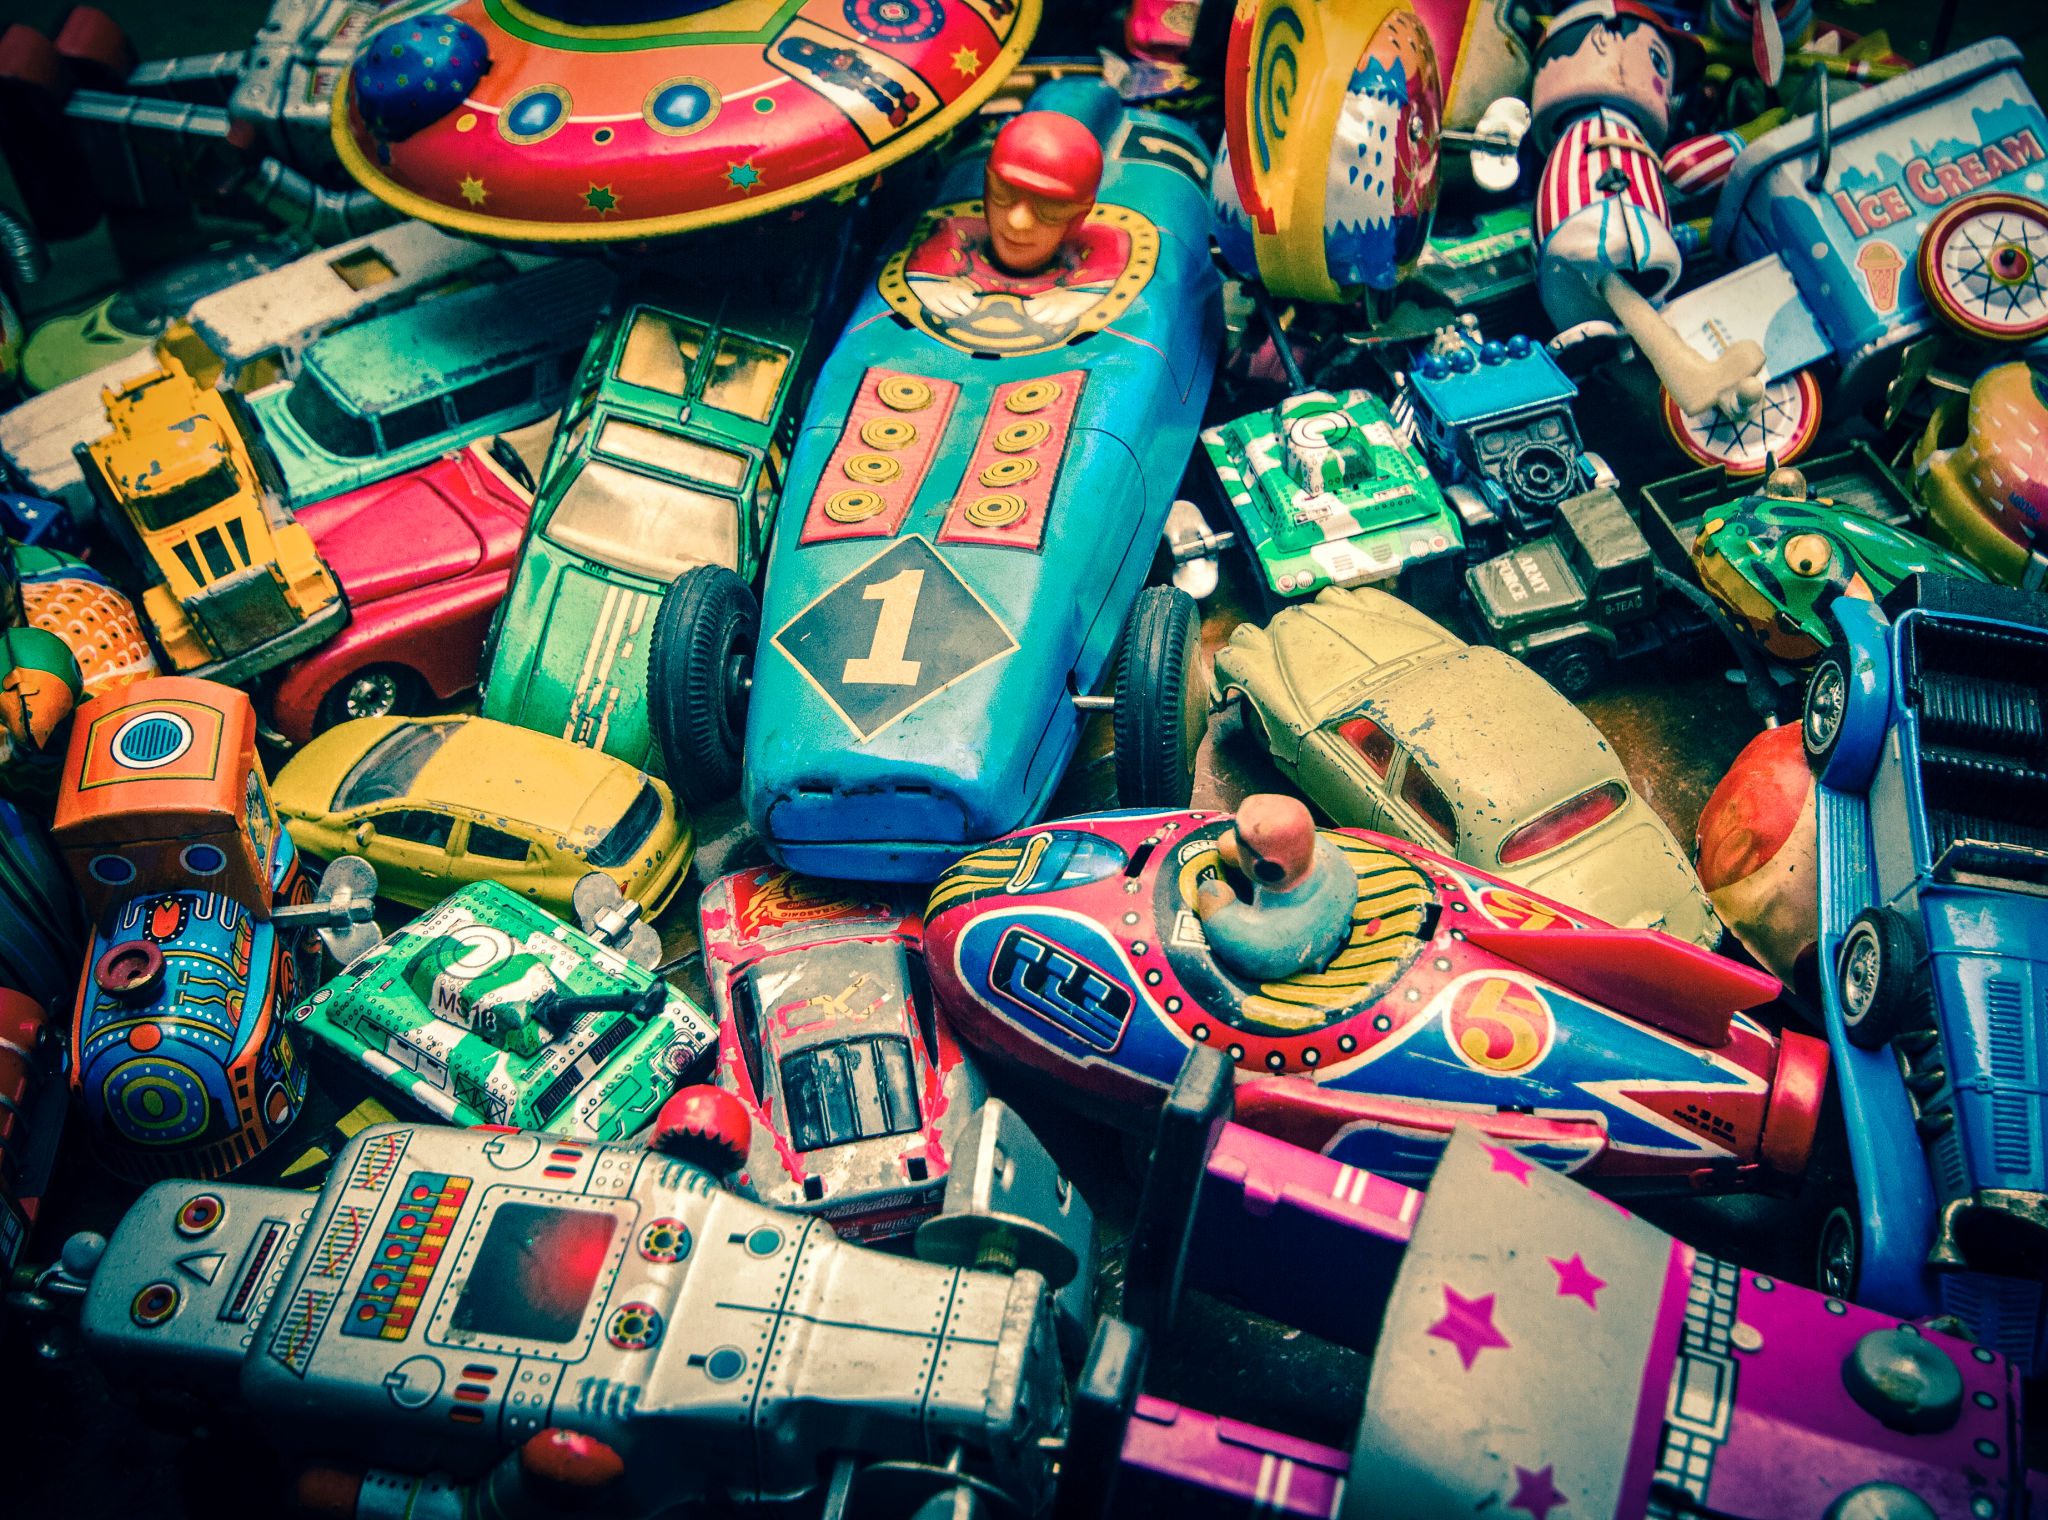
Entering the world of toy photography is a thrilling adventure. Whether you're a beginner or an experienced photographer, creating a compelling portfolio can showcase your unique style and creativity. The first step is to gather your favorite toys, a camera, and a few basic props. Remember, the magic lies in how you bring these toys to life through your lens.
Before diving into your first shoot, take time to explore the work of other toy photographers. Collect inspiration by browsing online galleries and social media platforms. This will help you identify styles and techniques that resonate with you and can be incorporated into your portfolio.
Essential Equipment for Toy Photography
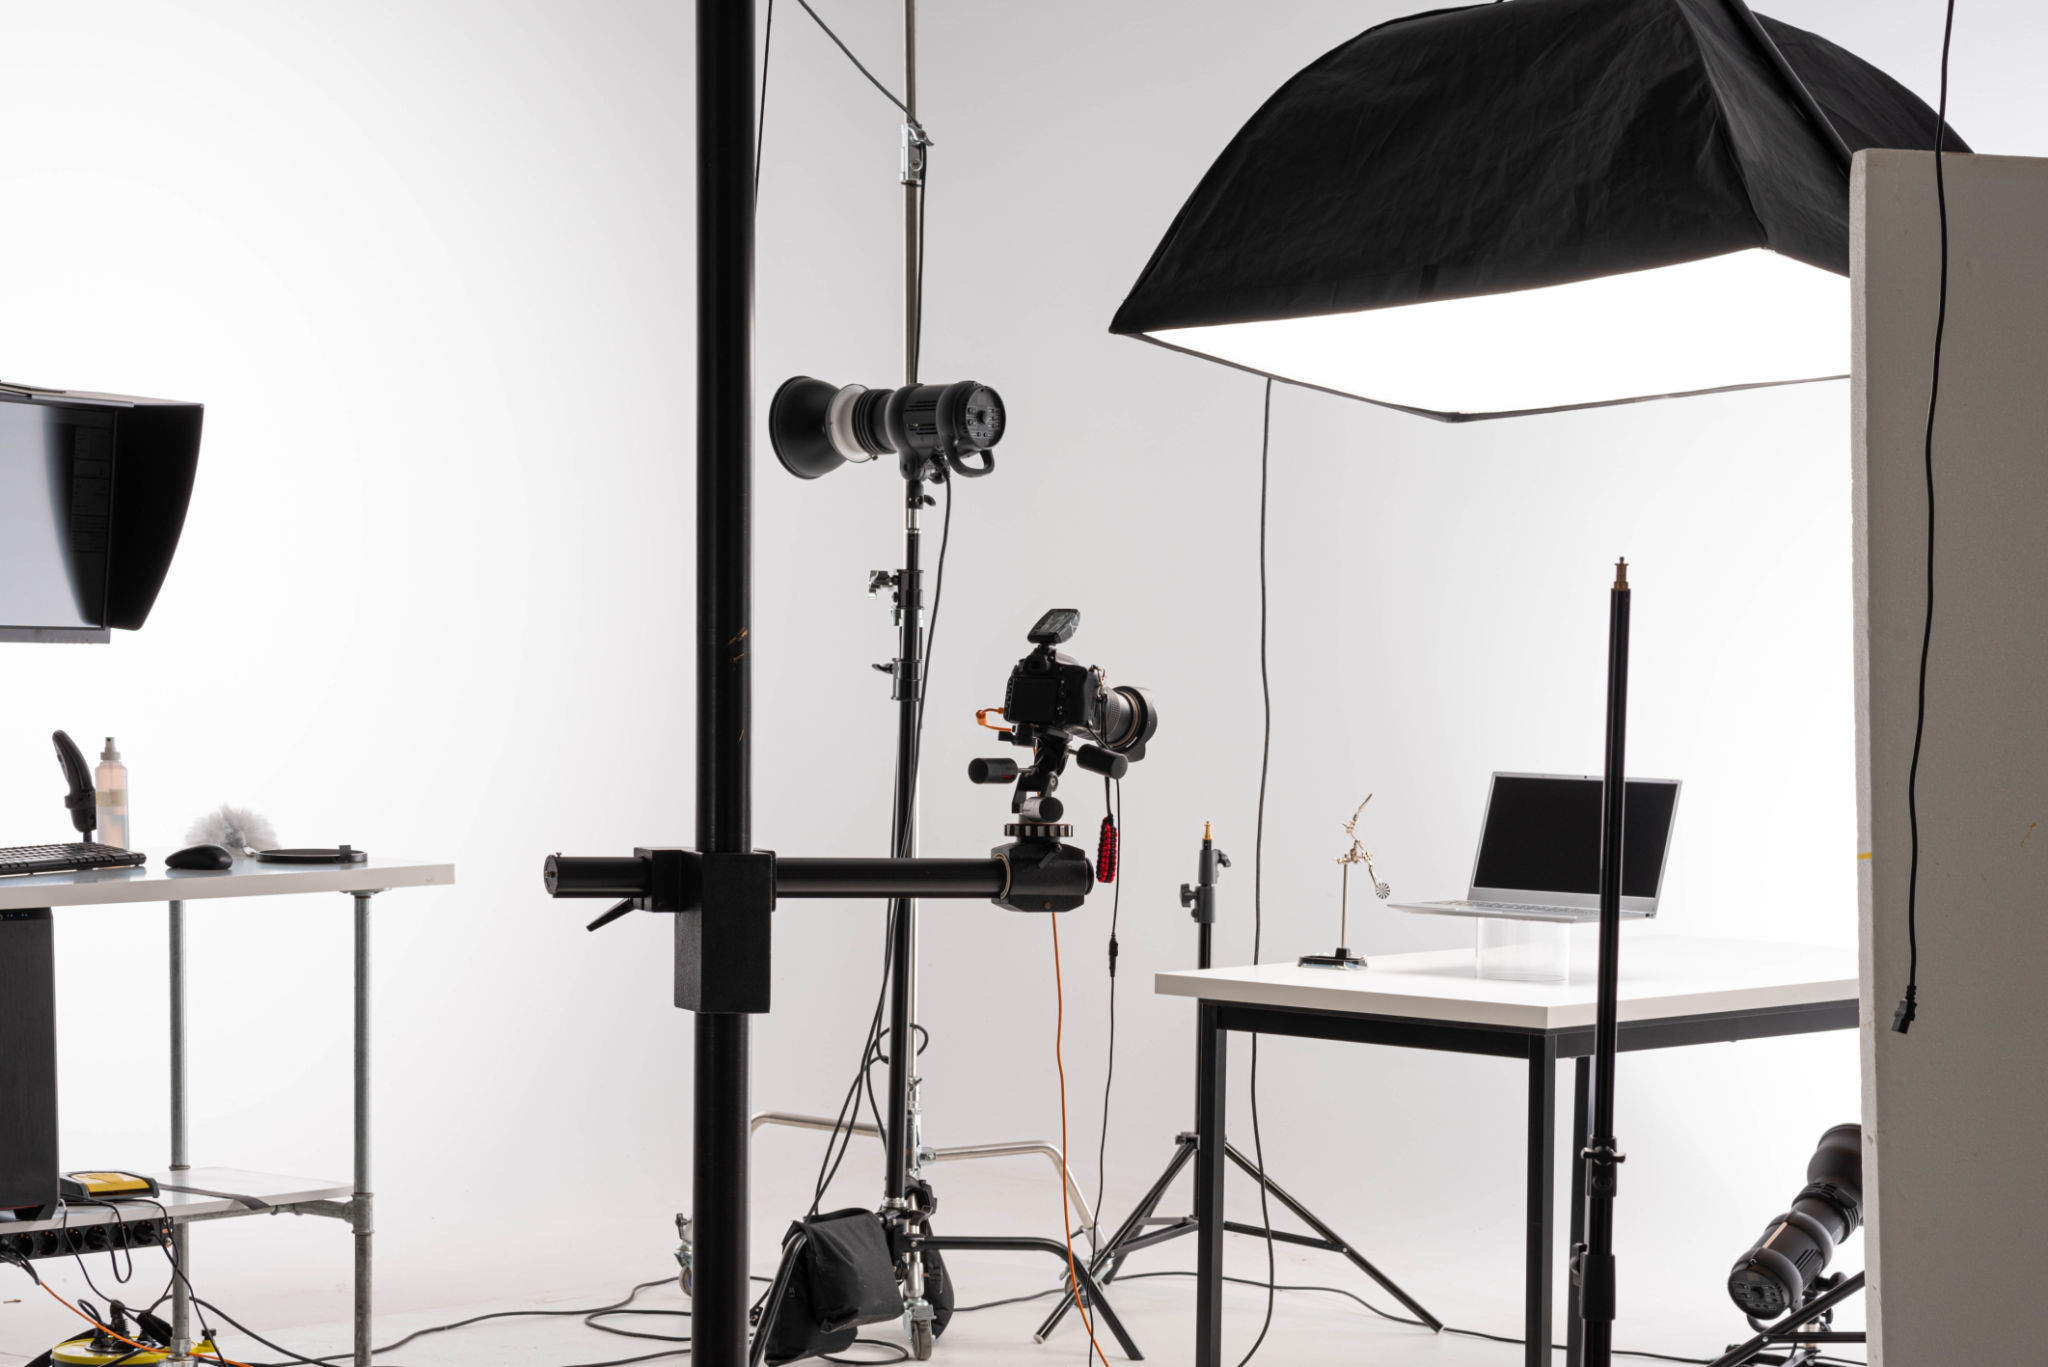
While it's possible to start with just a smartphone, investing in a decent camera and lens can significantly enhance the quality of your photos. A DSLR or mirrorless camera with a macro lens is ideal for capturing intricate details. Additionally, consider using a tripod for stability and a variety of lights to create dramatic effects.
Don’t forget about backgrounds and props. These elements can add depth and context to your photos. Simple household items like colored paper, fabrics, or natural settings can serve as excellent backdrops for your toys.
Lighting Tips
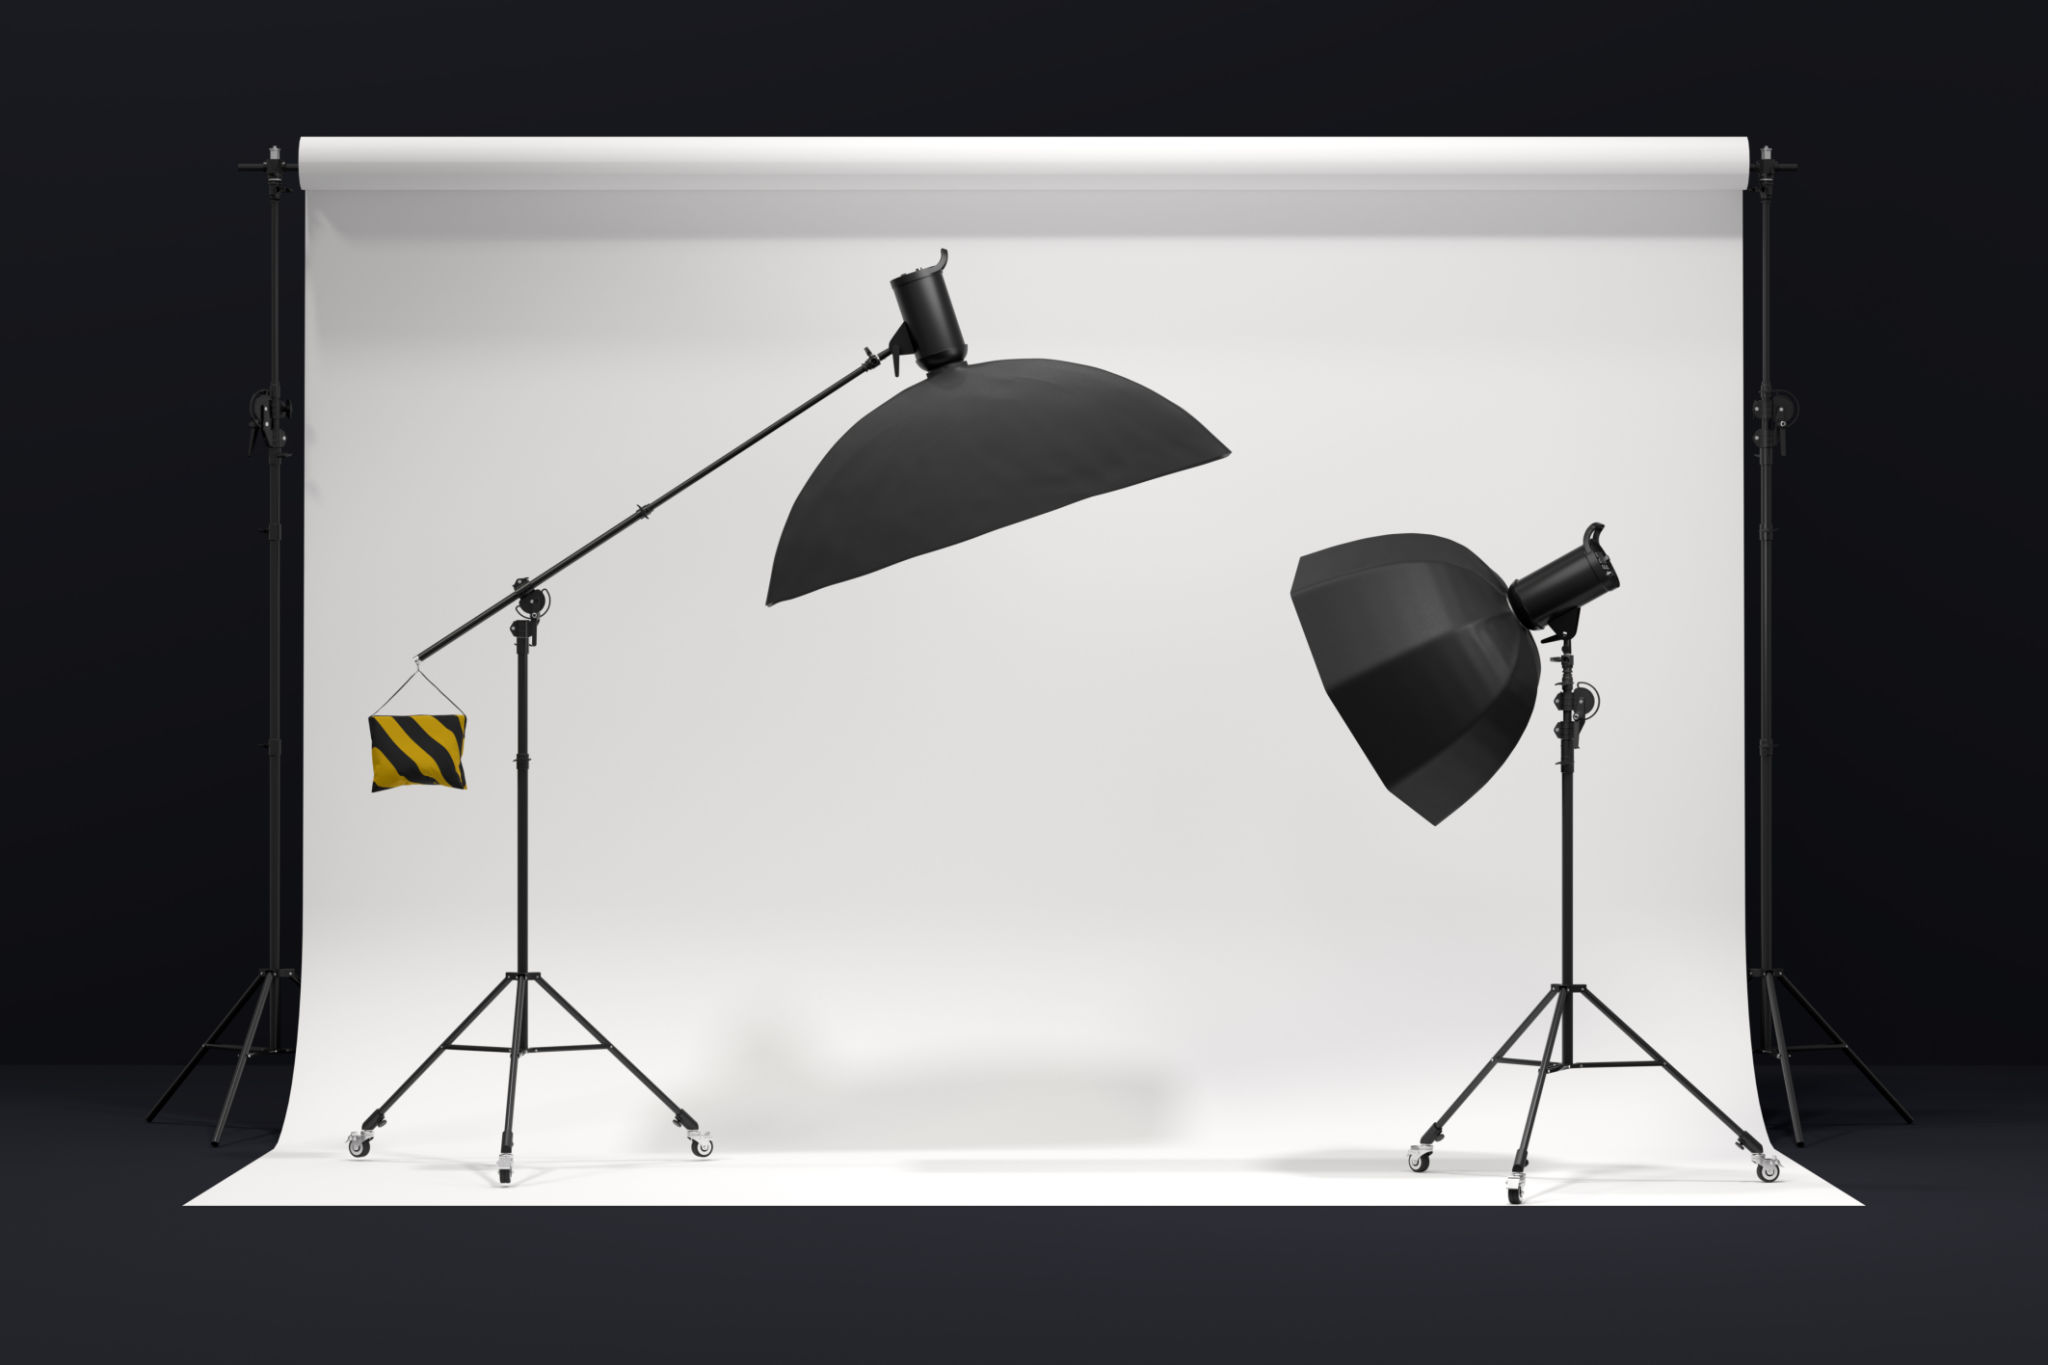
Lighting plays a crucial role in toy photography. Experiment with different lighting conditions to see what works best for your chosen toys. Natural light is often the most flattering, but you can also use artificial lights or reflectors to create interesting shadows and highlights.
Composing the Perfect Shot
Composition is key in making your toy photos stand out. Use principles like the rule of thirds, leading lines, and framing to create visually appealing images. Pay attention to angles and perspectives; getting down to the toy’s level can make your photos more engaging.
Don’t be afraid to experiment with different styles. Try close-ups for detail shots or wide angles to capture the entire scene. Each approach can add a unique dimension to your portfolio.
Editing Your Photos
Post-processing is an essential step in polishing your images. Use software like Adobe Lightroom or Photoshop to adjust brightness, contrast, and saturation. Editing can help you bring out colors, remove imperfections, and add effects that enhance the overall mood of your photos.
Organizing Your Portfolio
An organized portfolio is crucial for presenting your work professionally. Consider categorizing your photos by theme or style to make it easier for viewers to navigate. Online platforms such as Instagram or personal websites are excellent ways to showcase your portfolio digitally.
Include a mix of images that highlight different skills and techniques. This variety not only keeps your portfolio interesting but also demonstrates your versatility as a photographer.
Sharing and Networking
Once your portfolio is ready, it’s time to share it with the world. Engage with online communities and participate in photography contests to gain exposure. Networking with other photographers can also provide opportunities for collaboration and growth.
Remember, building a successful toy photography portfolio takes time, patience, and practice. Keep experimenting with new ideas and pushing the boundaries of your creativity to continually evolve and improve your craft.