DIY Toy Photography: Tips for Creating Stunning Album Covers
In the world of photography, capturing the beauty of toys can be an exciting and rewarding hobby. Whether you're a budding photographer or a seasoned pro, creating stunning album covers with DIY toy photography can elevate your portfolio. With a few creative tips and tricks, you can transform simple toy shots into captivating works of art.
Understanding Your Subject
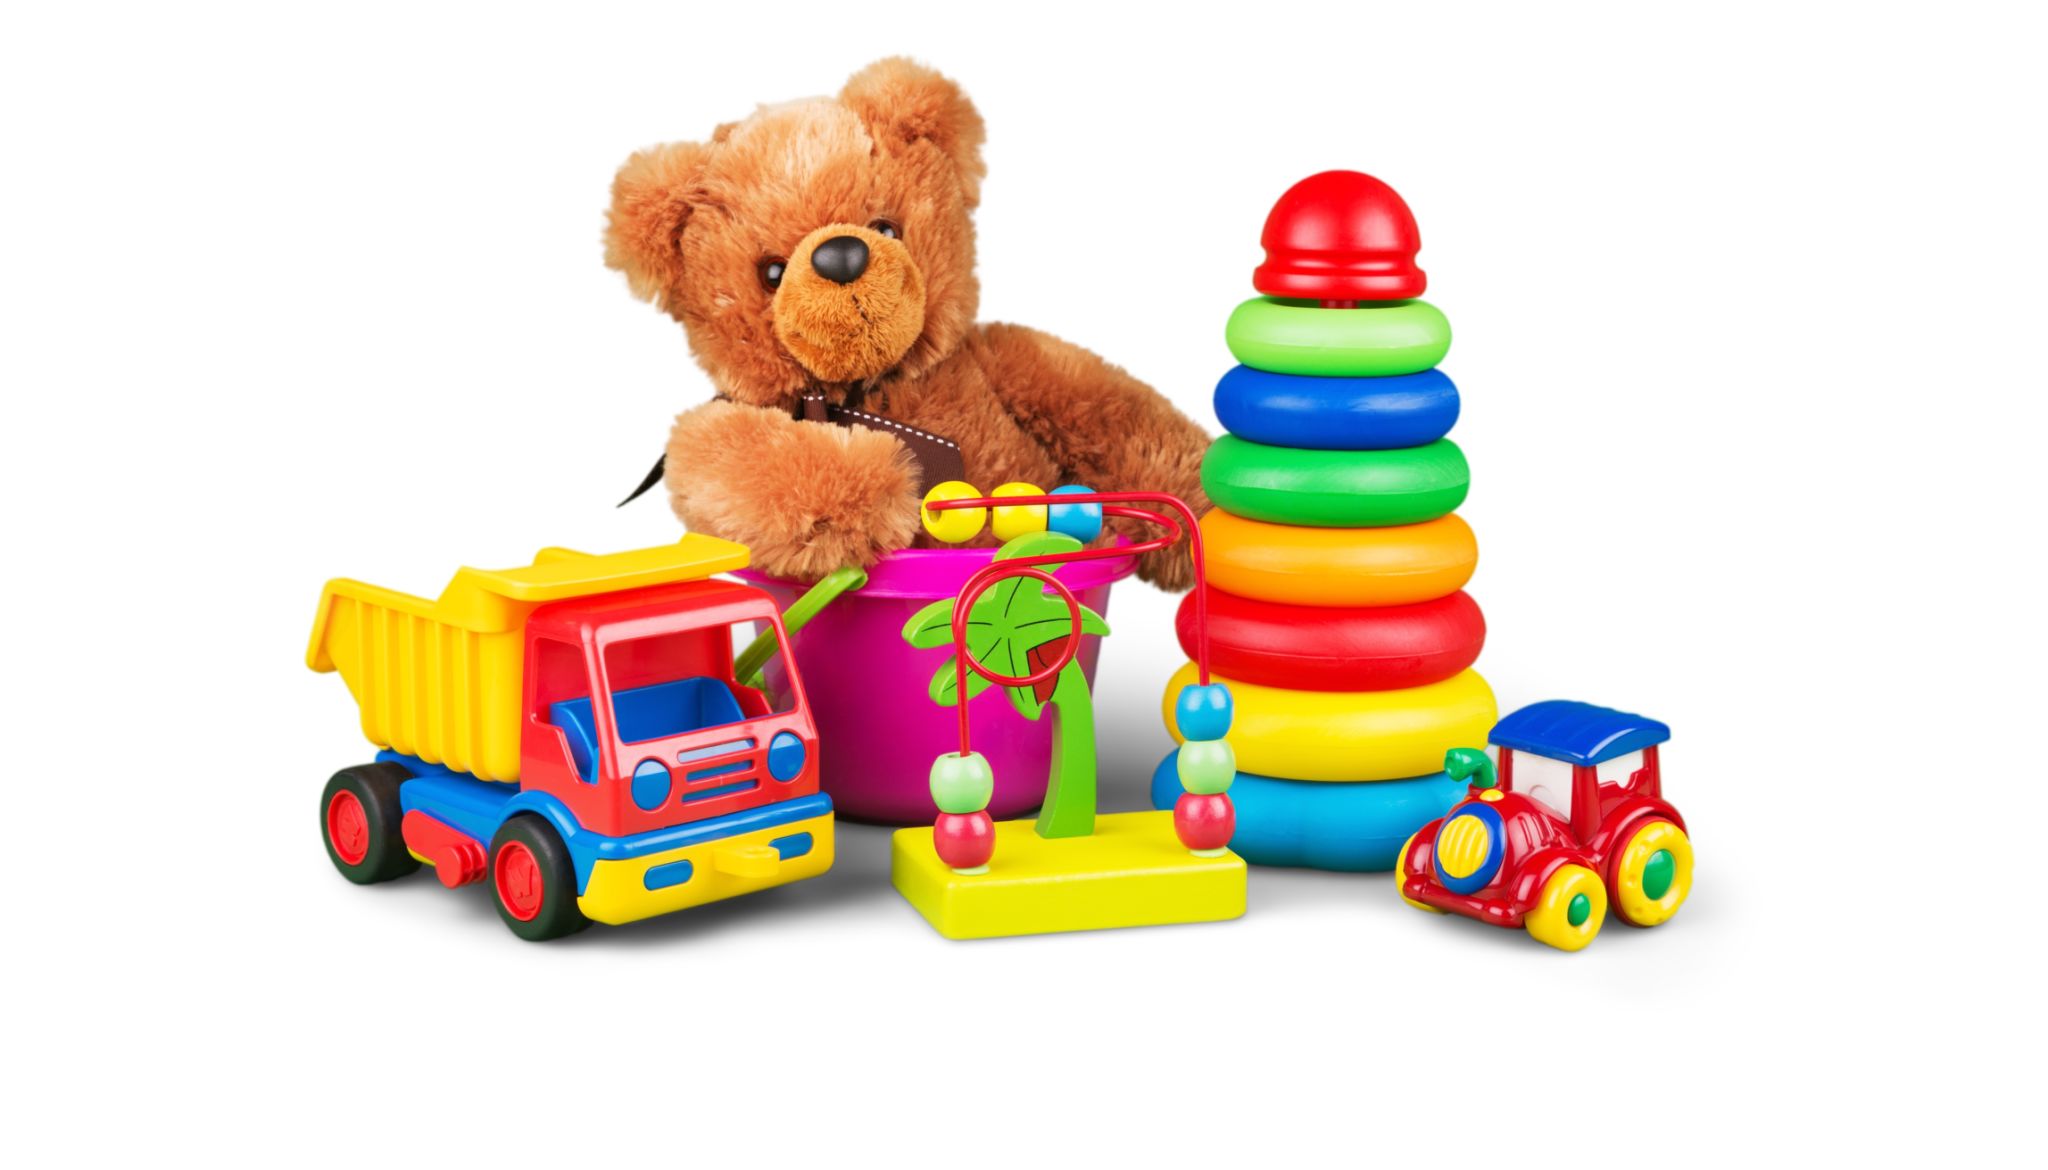
The first step in toy photography is to understand your subject. Toys come in various sizes, colors, and textures, which can dramatically affect the outcome of your photo. Start by examining your toy collection to identify which toys have unique features that could be highlighted. This could be the intricate details on an action figure or the vibrant colors of a plush animal.
Consider how you want your audience to perceive these toys. Are you aiming for a playful and whimsical look, or perhaps something more dramatic and intense? Understanding the personality of your toys can help guide your creative direction and ensure your photos resonate with viewers.

Setting the Scene
Once you have a clear understanding of your subject, it's time to set the scene. The backdrop and environment you choose can make or break your photo. For a more professional look, consider creating a miniature set. This could involve crafting tiny furniture, using fabric for backgrounds, or incorporating real-world elements like plants or sand for added realism.
Lighting is another crucial aspect of setting the scene. Natural light is often the best choice for toy photography as it provides a soft, even illumination. However, you can also experiment with artificial lighting, such as LED lights or desk lamps, to create dramatic shadows and highlights.
Mastering Camera Techniques
To create stunning album covers, mastering basic camera techniques is essential. Start by adjusting the aperture to control the depth of field. A wide aperture (small f-number) can create a beautiful bokeh effect, blurring the background and making your toy stand out.
Experiment with different angles and perspectives to add interest to your shots. Shooting from a low angle can make small toys appear larger than life, while overhead shots can emphasize patterns and symmetry.

Utilizing Props and Accessories
Props and accessories can add a layer of depth and storytelling to your toy photography. Consider incorporating everyday items like coins, leaves, or kitchen utensils to create a sense of scale and context. These elements can also infuse humor or drama into your shots, depending on how they're used.
When choosing props, ensure they complement rather than overshadow your main subject. The focus should always remain on your toy, with props enhancing the overall composition.
Post-Processing Magic
Editing software can be a powerful tool in bringing your toy photography to life. Use programs like Adobe Lightroom or Photoshop to adjust brightness, contrast, and saturation. Cropping and straightening your images can also help refine the composition.
Don’t be afraid to experiment with filters and effects to give your photos a unique style. However, remember that subtlety is key; over-editing can detract from the natural beauty of your shots.

Showcasing Your Work
Finally, once you've perfected your toy photography, it's time to showcase your work. Create an album cover that reflects the theme and mood of your photos. Use online platforms like Instagram or Pinterest to share your creations with fellow enthusiasts and receive feedback.
You might also consider printing your favorite shots as physical album covers or posters. This not only allows you to enjoy your work offline but also gives you a tangible piece of art that you can proudly display.
With these tips in mind, you're well on your way to mastering DIY toy photography and creating stunning album covers that captivate and inspire. Grab your camera, gather your toys, and let your creativity run wild!