Designing Cover Art with Toys: From Concept to Creation


Creating cover art with toys offers a unique and playful approach to design. This process involves selecting the right toys, arranging them creatively, and capturing the perfect image to convey your message. It’s a blend of art, photography, and storytelling that results in captivating visuals.
Conceptualizing Your Design
The first step in designing cover art with toys is to conceptualize your idea. Think about the theme you want to portray and the emotions you want to evoke. Are you aiming for something whimsical, adventurous, or nostalgic? Understanding your core concept will guide your choice of toys and overall composition.
Sketching your ideas can be incredibly helpful. Create rough drafts of different layouts to explore various possibilities. This step allows you to visualize how the toys will interact and what story they will tell. Remember, the goal is to create a scene that resonates with your audience.
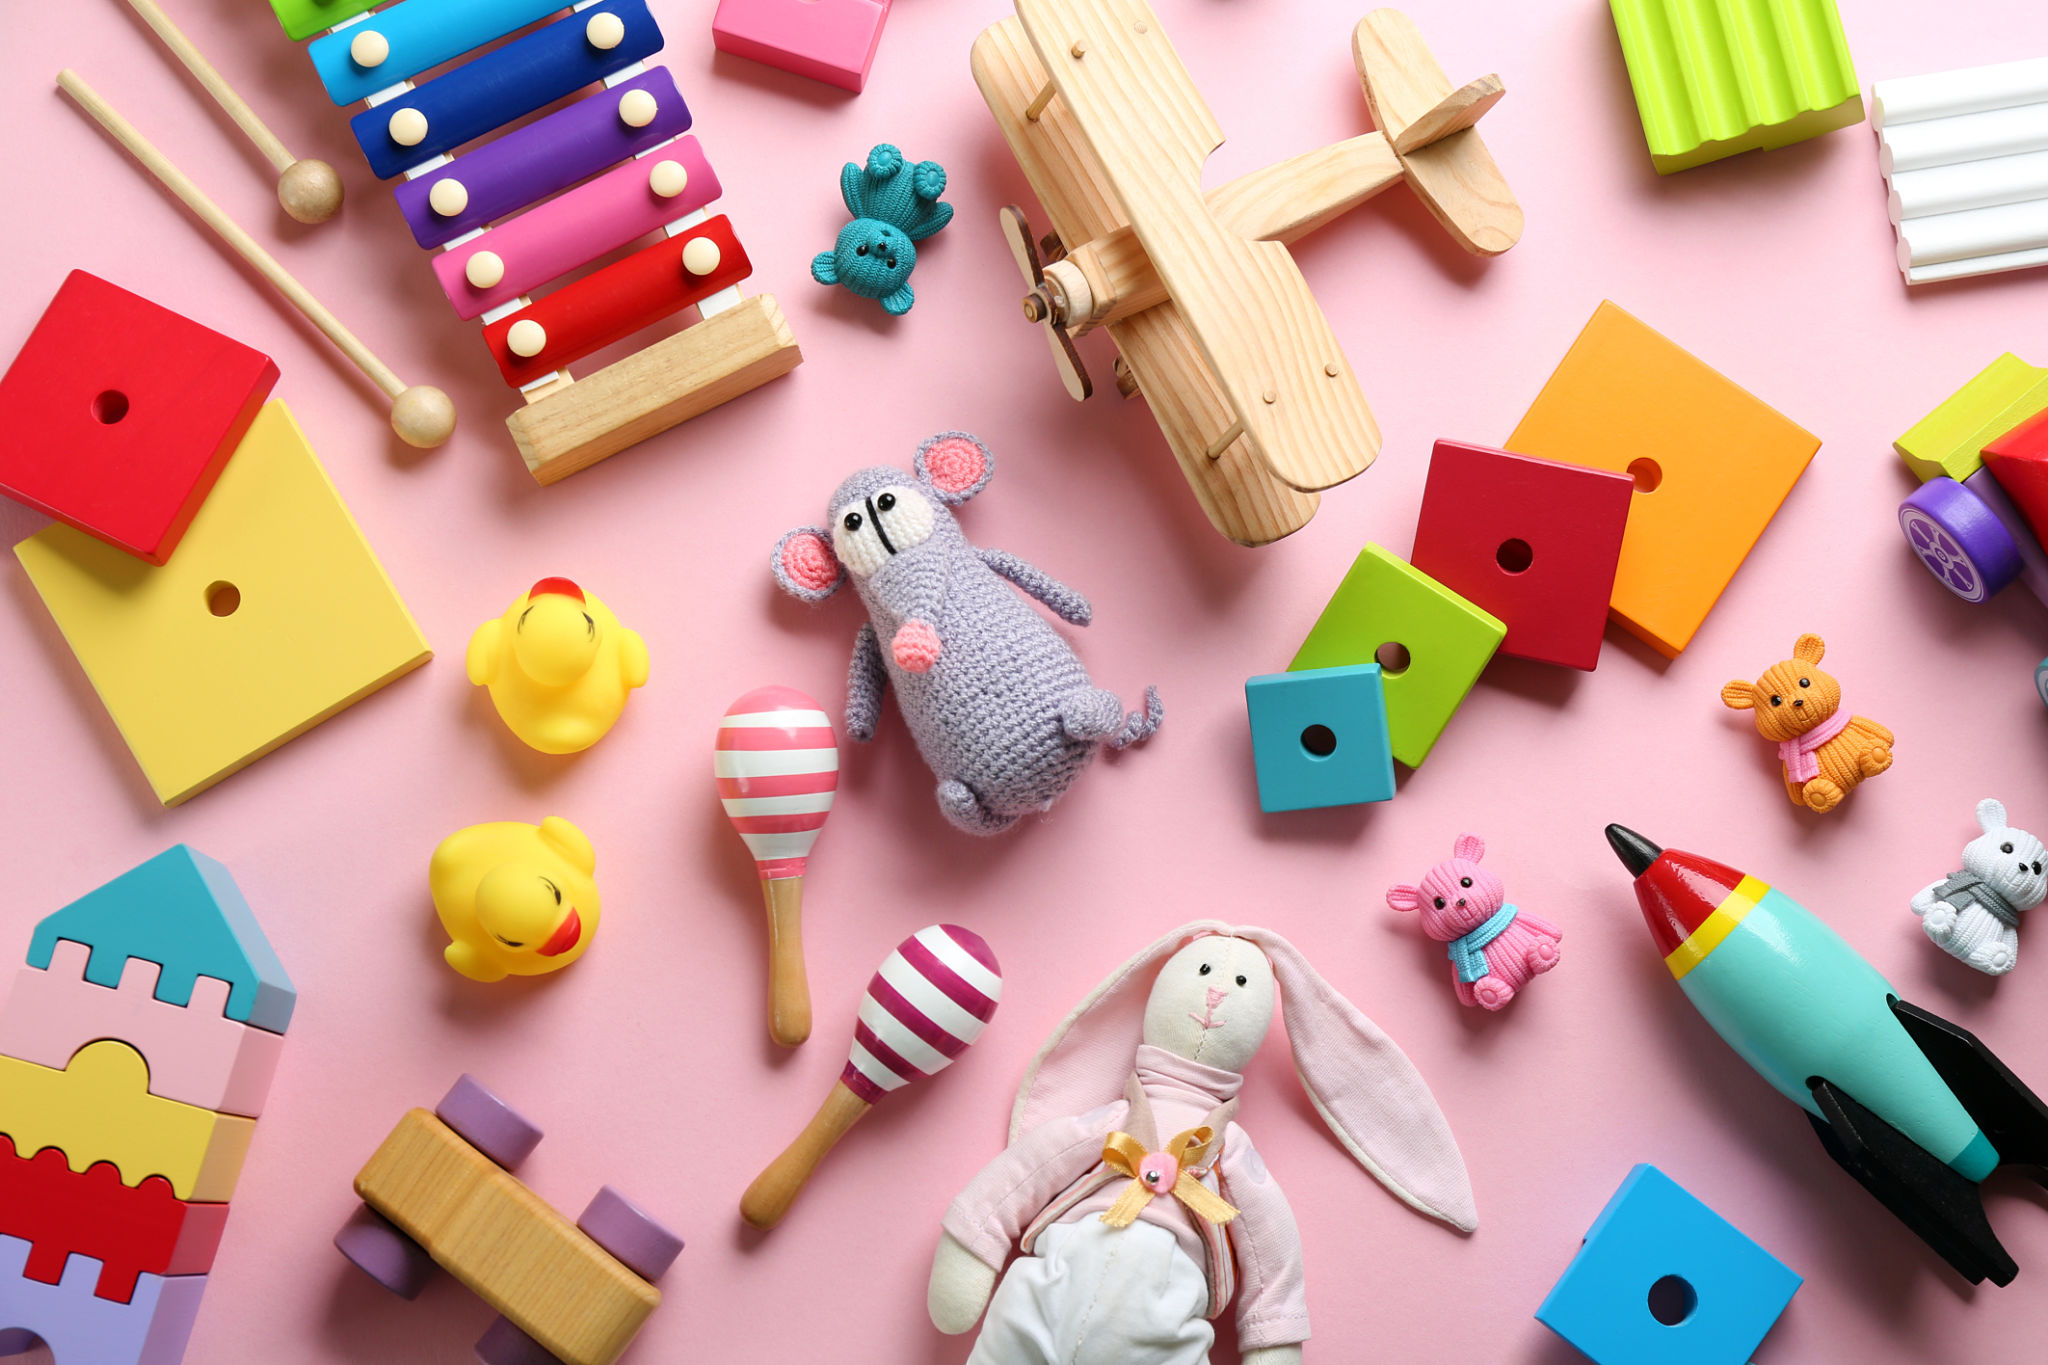
Selecting the Right Toys
Choosing the right toys is crucial to bringing your concept to life. Consider the scale, color, and texture of the toys as they will affect the overall aesthetic. Vintage toys might evoke nostalgia, while modern ones can add a contemporary touch. Ensure that the toys align with the story you wish to convey.

Setting the Scene
Once you have your toys, it's time to set the scene. This involves arranging the toys in a way that creates depth and interest. Pay attention to the background and any additional props that might enhance the scene. Lighting is also vital; natural light can add a soft and inviting ambiance, while dramatic lighting can highlight specific elements.
Experiment with different angles and perspectives to find the most engaging composition. Sometimes, a slight tilt or elevation can transform a simple setup into something extraordinary. Don’t hesitate to rearrange the elements until everything feels just right.
Capturing the Image
With your scene set, capturing the image becomes the next focus. Use a high-quality camera to ensure clarity and detail. Pay attention to focus, exposure, and composition. A tripod can be helpful to maintain stability and achieve consistent results. Take multiple shots from different angles to have a variety of options to choose from.

Editing and Finalizing
Once you have your shots, the editing process begins. Use photo editing software to enhance colors, adjust lighting, and remove any unwanted elements. This step allows you to refine your image and bring out the best in your composition. Be mindful not to over-edit; maintaining a natural look often yields the best results.
Finally, consider how the cover art will look in its intended format, whether it’s for a book, album, or poster. Ensure that text and other design elements don’t overshadow the image but rather complement it.
Bringing It All Together
Designing cover art with toys is a creative journey that combines imagination and technical skill. From conceptualizing to finalizing, each step is an opportunity to explore and innovate. By following these guidelines, you can create cover art that not only captures attention but also tells a compelling story.